Streaming OpenCV frames as a video using ROS

Imagine you need to edit a video frame by frame using openCV. You need these frames stitched back together into a video. The video input is realtime and you might need the real time processed video streamed through a local network. A common use case would be CCTV surveillance. The camera video input needs to be attached with time stamps. And also automatic object detection bounding boxes in the surveillance camera need to be added before streaming to the internet.
This article will explain how to collect incoming openCV frames and send a video stream output through a local WiFi network. The stream can then be visualized on another device in the same local network.
In this article this is implemented in ROS (Robot Operating System). The implementation has been tested in both ROS Noetic and Melodic in Ubuntu 20.04 and 18.04 environments. The code is implemented in a ROS node. It is assumed that the ROS node is getting an incoming stream of image frames through a ROS topic. The image frames are received in the standard sensor_msgs Image message format. In my example the ROS topic receives these frames at a rate of 30 FPS.
The goal is to create a ROS node that process the received frames using OpenCV and then stream. The processing part can be any of the standard image processing functions available in the openCV library. For the streaming part we came across two methods.
Using a python flask server
The easiest method in implementing the above discussed ROS node is to use a flask server. For this flask needs to be installed using basic installation steps available on the web. After installation the next step is creating a new python ROS node with the following code.
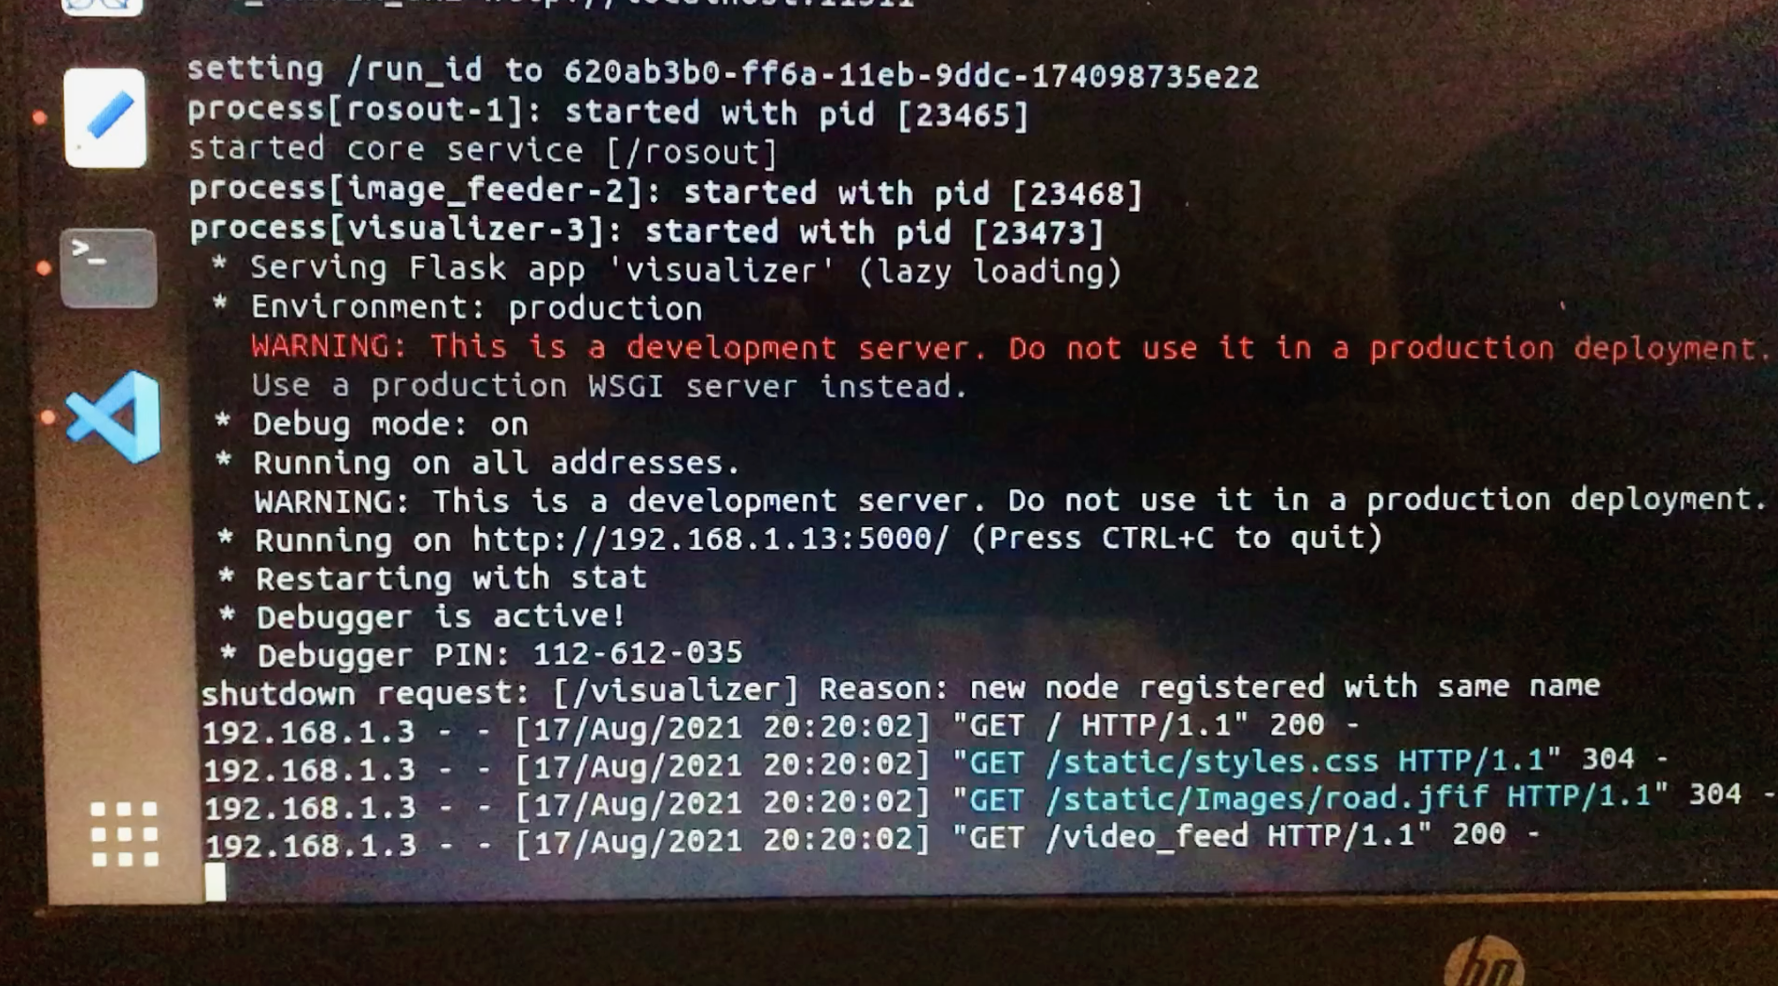
After implementing the node the terminal should end up displaying something similar to this. It will point to a link that will display the video stream. This link can be accessed through the same computer as well as other devices that are connected to the WiFi local network. The particular link is dependent on the IP address of the computer. In my application the link was http://192.168.1.13:5000/.

In the same folder the ROS node script is placed, two other folders called ‘static’ and ‘templates’ should be placed. In the ‘templates’ folder an html file can be placed. In static folder css, js files and images can be placed. The name of the html file should match with the name mentioned in the ROS node. A basic html file should include the following.
Finally when the webpage is accessed through another device it viewed similar to this. The web page here is included with some css and js functionality.

Since a browser is used, any type of device was able to stream the video through the network. Even though it was quick and easy to set up, the quality of the stream drastically reduced when the resolution was increased from 480p. The ROS node was using nearly 100% CPU. There was no way to optimize the stream.
Using FFmpeg library
“FFmpeg is a free and open-source software project consisting of a a large amount of libraries and programs for handling video, audio and other multimedia files and streams”. This is a direct reference to the FFmpeg website.
FFmpeg
While trying to use this library for my purpose, there were many instances and guides to use the RTMP(Real-Time Messaging Protocol) protocol. I continuously got an error similar to “TCP connection refused”. The obvious reason was that RTMP uses TCP(Transport Control Protocol) transport protocol. TCP usually needs a listener at the other end to do a hand-shake before the transmission. Without a proper listener at the other end I was unable to overcome this error. Then I decided to use the RTP(Real-time Transport Protocol) protocol instead of the RTMP protocol. The RTP protocol could be implemented without a “TCP connection refused” error because it uses UDP(User Datum Protocol), which is lightweight and faster. Low accuracy in UDP did not cause much of a problem.
Before implementing the ROS node FFmpeg needs to be installed first. Even though internet sources refer to something called “FFServer” this is not required to implement the video stream in our application. It seems FFServer was installed along with the FFmpeg library in the early times. And they seem to have removed the FFServer from FFmpeg. There is no issue downloading the newest FFmpeg library.
This is the ROS node implementation done using FFmpeg library.
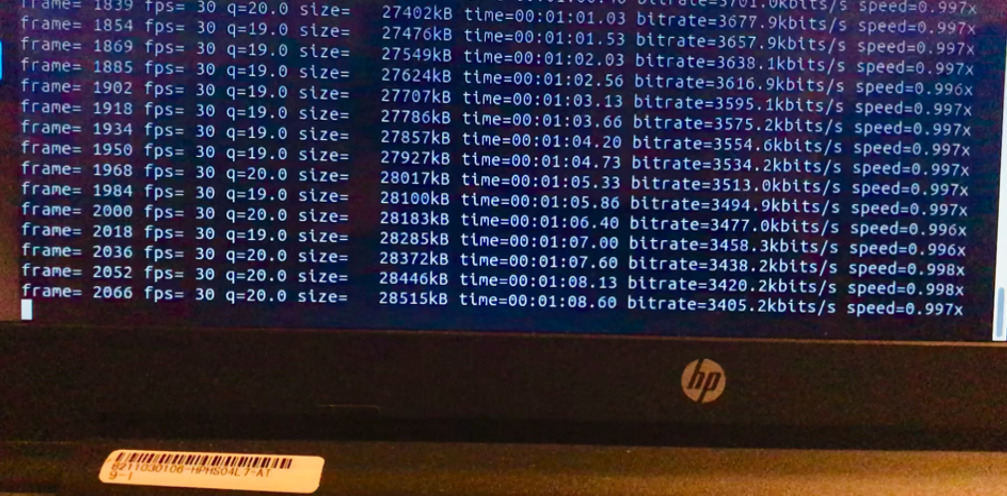
rtmp_url = “rtp://192.168.1.3:1234/stream” This line provides the link for the video stream. The IP address here is the IP address of the device one expect the stream to be received. It is worth noting that the port number 1234 was the one that resulted in successful implementation. I needed VLC media player to receive the video stream. The server side will look like this once the stream is initiated.

In order to open the stream in VLC player, create a file with the extension “SDP”. Include the text as shown here. Then try to open the file in VLC and play it.
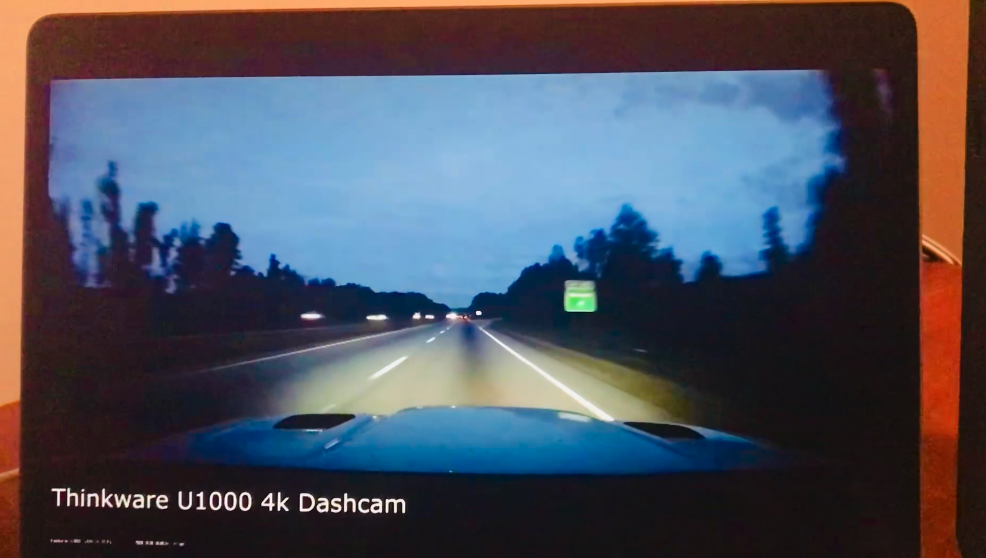
It should be noted that c=IN IP4 192.168.1.3 line should include the IP address of the receiver. This resulted in a better video stream than the earlier. Probably, there exists many ways to optimize this stream because FFmpeg facilitates optmization. This how the stream looked like on VLC player.

Good luck setting up!